




Carrots
Grow
Daucus carota, ‘bee’s nest plant’, bishop’s lace.
Carrots are a vegetable we eat a great deal of and the kids and dogs scrunch through them whenever they are ready in the garden. Growing your own succulent, juicy carrots gives you the opportunity to turn your taste buds onto one of the sweetest vegetables out there. When it comes to nutrition, carrots are worth their weight in gold – carrying a mother lode of anti-oxidants, vitamins and minerals. A freshly pulled carrot from the garden is a must for any lunchbox.
In a nutshell
- Sun/part shade
- Fertile sandy soil
- Sow from seed
- Kids love to grow them
- Rich in vitamins
Quantity
1 stride length row per person.
Companions
- Onions
- Leeks
- Lettuce
- Radish
- Tomato
- Peas

The growing lifecycle

Dragging a shallow drill

Sowing seeds
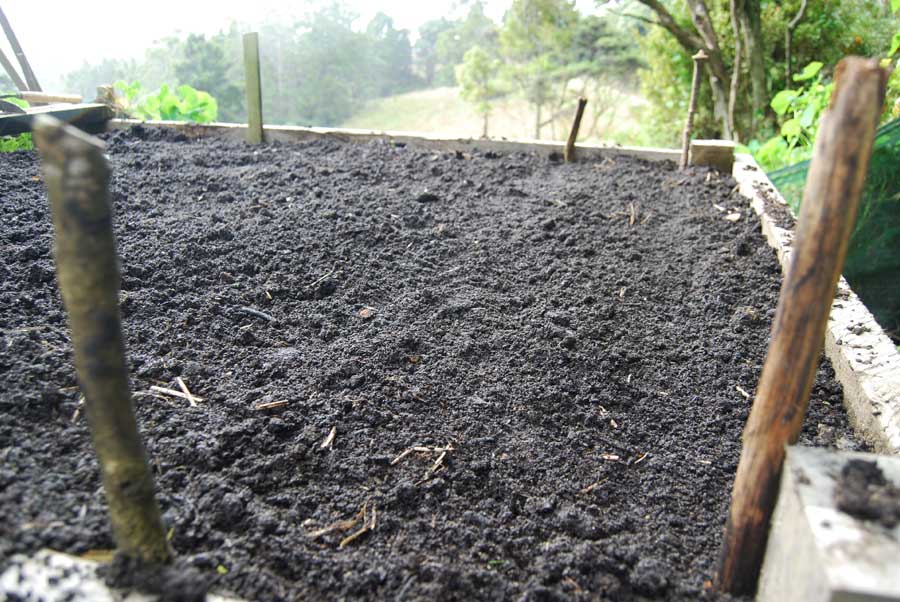
Drills sown with carrot seeds and soil gently compacted
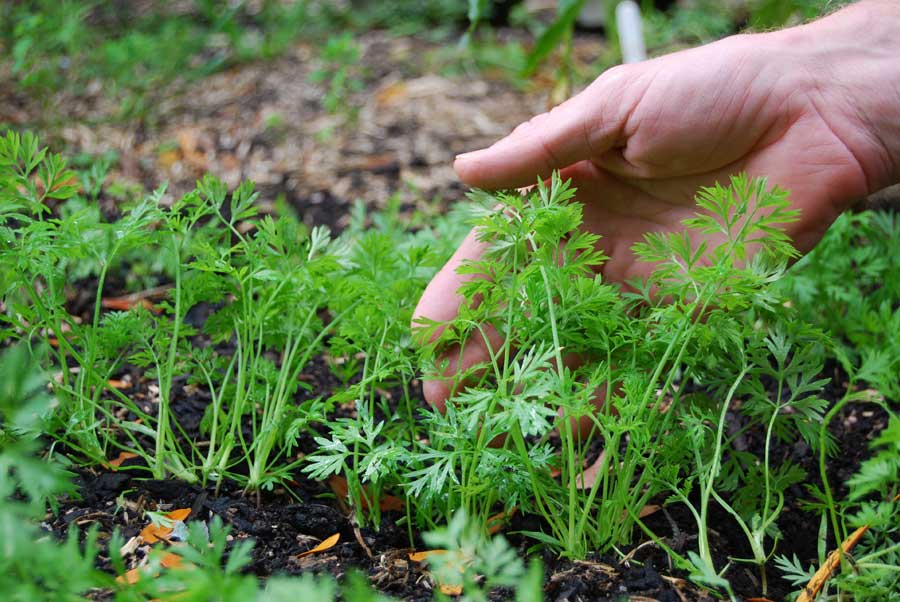
Carrot seedlings crowding along the rows
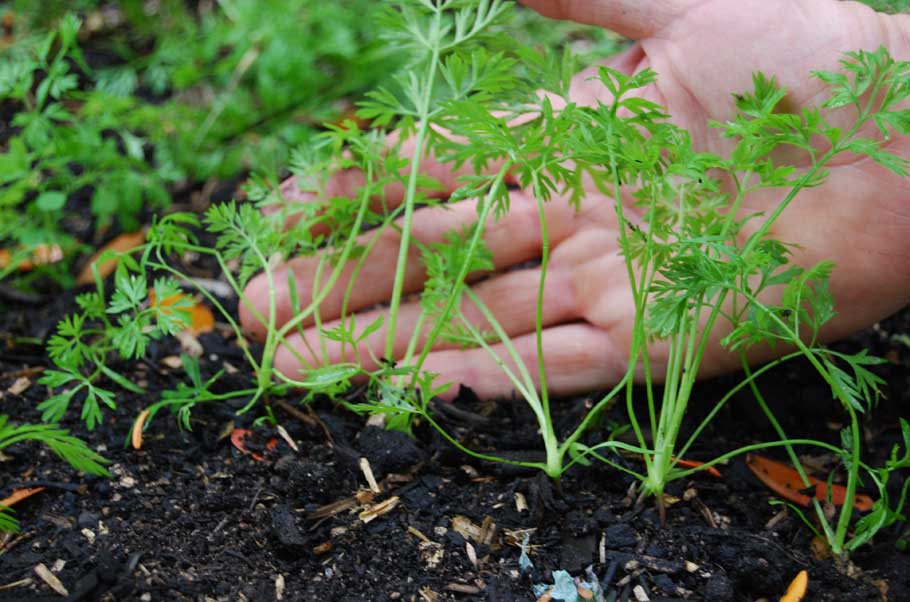
Carrot seedlings after thinning
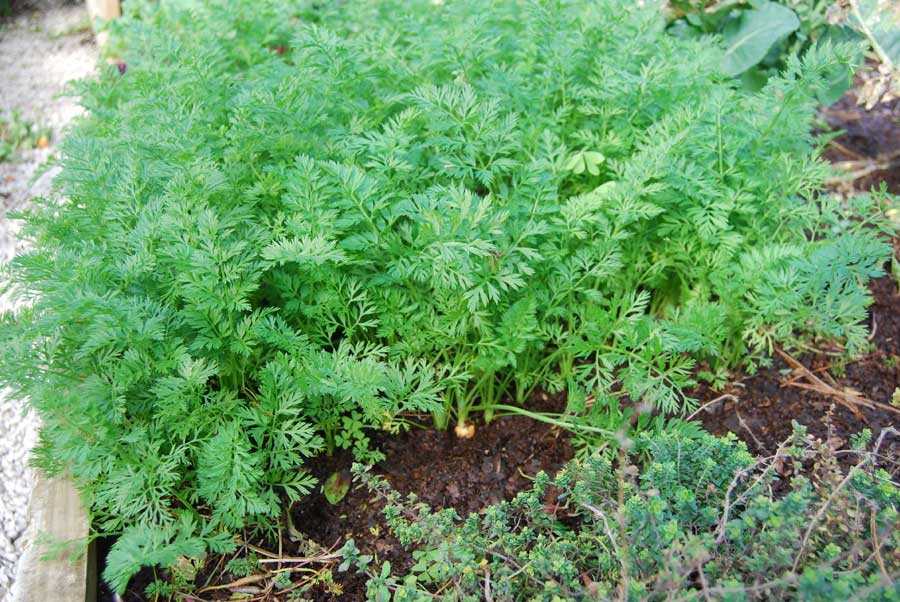
Roots start to swell

Carrot seedlings with strong leaf growth

Ready for eating
Boys with Carrots
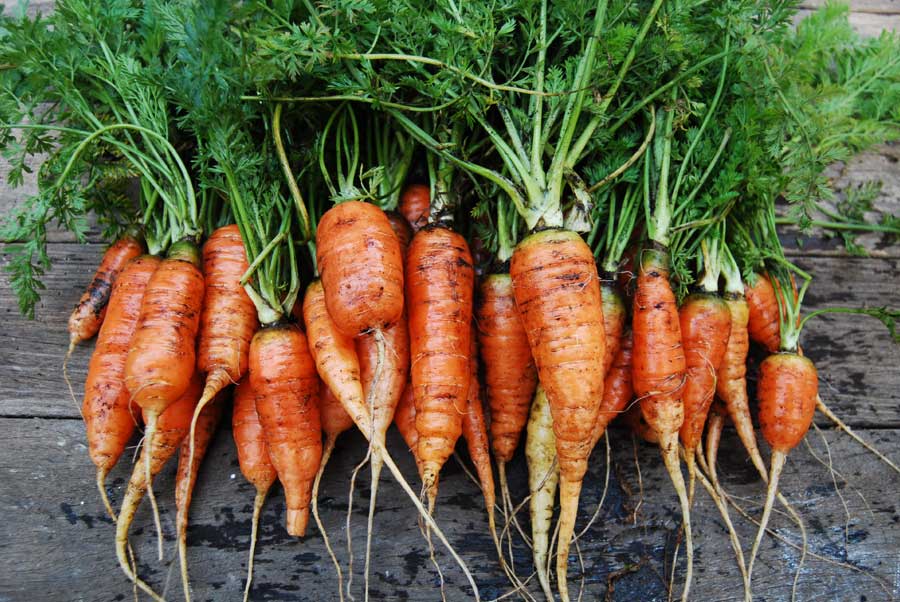
A nice haul
Carrots for all!
Top 4 varieties
1. Early Nantes
A very popular variety that grows quickly to produce cylindrical rich orange roots with sweet flavour. Great raw.
2. Samurai
Vibrant reddish colour and sweet flavour. These roots have high levels of lycopene. Harvest from mid summer through to winter.
4. White Satin
Produces eye-catching, completely white long roots that are sweet and tender.
5. Touchon
Long coreless roots – at least a good hand’s length. Sweet flavour, great served raw and excellent for juicing.
Getting started
When
Sow between March and July, earlier in more mild regions.
Where
Carrots like a place in the sun but they will handle some diffused sunlight too. They grow well alongside onions and garlic – the smell of which is said to deter pests such as carrot root fly.
Soil
Like other root vegetables, carrots grow best in a fine, well-dug soil that is generally lump-free – at least to a hand’s-depth. (Ideal for those with raised beds or sandy soil). A fine, loose soil allows their roots to grow evenly as they penetrate the soil and then swell to juicy perfection. Then again, the odd lump or two can produce some fairly weird-shaped roots that keep our kids amused at the kitchen table… On the whole though try and provide a soil that you can pretty much run your hand through – with a bit of effort. Soil should have a few goodies stored in it – well-rotted manure or compost – that have been well incorporated, maybe even left-over from previous plantings last summer. Rake soil level and gently compact with the back of a rake – it is best to do this in dry weather if possible. If weather is not playing the game you can buy a sack of potting mix and spread that over the soil in your bed to give a nice level surface on seed sowing day.
Sow & plant
Carrots are generally best sown directly into garden beds or containers.
For orderly lines: Using your finger tip or a stick of similar thickness, drag a shallow ‘drill’ or trench, about a finger tip deep across the surface of well-dug soil. Sow the seeds into the drill at the spacings recommended on the packet – which in our case all depends on the pilot of the seed packet. I just try to make sure I can see a line of seeds about a finger tip apart from each other.
Don’t fret about sowing because in a few weeks’ time you’ll be able to go through and thin seedlings to make room for roots to swell. Leave a gap of around a finger length between your rows and lightly firm soil back over the sown seeds.
For a carrot patch: Scatter seed across an area – say a square that is maybe a forearm by a forearm wide. Brush a thin layer (about a finger tip deep) of soil/compost across the seeds so that they are no longer visible on the surface.
If you are sowing in spring and there is any chance of late frosts in your area then protect seeds and young seedlings with horticultural fleece draped over hoops along the rows (As long as the foliage is visible and the seedlings are showing through the soil then you should be okay to remove the fleece). You don’t have to sow all your seeds at once – to keep the kitchen crunching sow a new row or patch every two weeks to ensure a constant supply.
Maintain
For an all-round regular root, thin seedlings down to about one per half finger-length when the foliage is about a finger length in height. As your carrots continue to grow, thin them again so they are about a finger length apart. These can then grow on to full size with space for foliage to fully develop and support the growth of great roots. Maintain constant moisture levels to encourage nice uniform roots. Best is to check soil moisture when the sun comes out – should be cool and damp when you push your finger beneath the surface. If not, adjust watering accordingly until it rains again.
Slugs and snails are the enemy of all carrot seedlings and should be discouraged by whatever means sits well with your conscience. If you have a problem with slugs eating young seedlings then sow carrots in pots and old buckets or half wine barrels filled with free draining compost and drainage holes in the bottom. Carrots should then be able to grow un-molested.
Carrots can be attacked by carrot root fly that finds crops by the smell of foliage. Planting carrots alongside onions helps to confuse carrot fly. Removing all foliage after thinning and picking also prevents an obvious olfactory signal from being shouted out to any passing carrot flies on the prowl. You can create very effective barriers about 60cm to 90cm high with fine mesh erected around your crop which the low flying carrot root fly will struggle to get over.
Harvest or pick
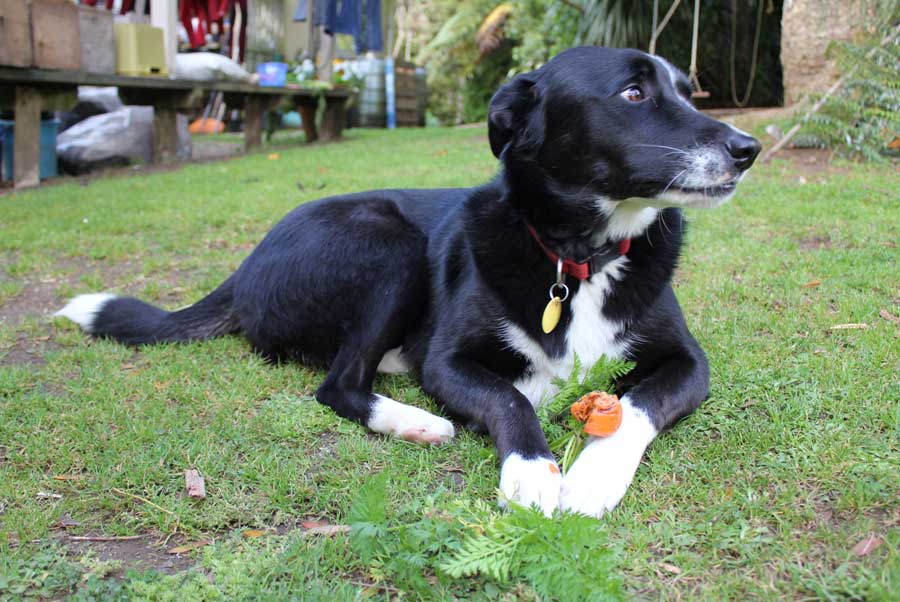
You can harvest carrots when ‘baby’ size – as part of your thinning program and then leave others to grow on until they reach show-stopping size. Ours hardly ever get to full maturity thanks to three eager young appetites and competitions to pull the biggest. Even the dogs join in – Sula, our huntaway-collie cross has been spotted pulling her own carrots from beds and happily munching them on the lawn.
Leave a few carrots to flower and they’ll attract beneficial predatory insects like hoverflies into your garden. Carrots store well in the ground – but in our garden they are never allowed to hang around for long enough.