




Kale
Grow
Brassica oleracea Acephala group. Borewort, Colewort, Collards.
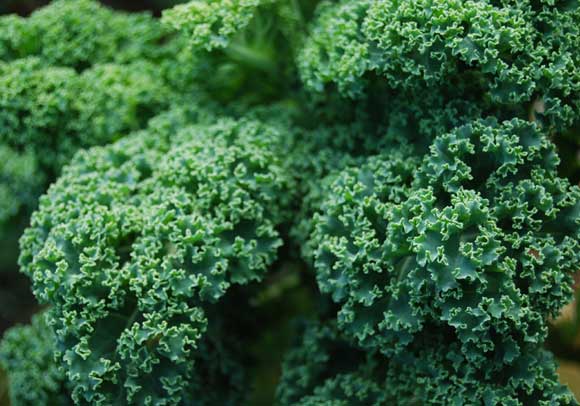
Kale is a highly productive, reliable and resilient primitive form of cabbage that produces great curly greens over a long period. One of those vegetables that during winter you’ll be glad you planted as it offers up wave after wave of nutritious leaves ideal for steaming and stir-frying at a time when lush leaves can otherwise be scarce. Ounce for ounce, Kale has more than 15 times the vitamin C content of carrots. Like other brassicas – cabbage, broccoli, Brussels sprout – It is also a good source of iron. The foliage is not only nutritious and delicious but eye-catching too which sees it often planted in flower beds for decoration. Start your kids eating kale as young as possible to broaden their palettes. Tender raw stems were popular with my boys when young, always helping themselves whilst out in the garden.
In a nutshell
- Sun/part shade
- Rich fertile soil
- Reliable grower
- Good winter greens
- Very long harvest period
Quantity
1 plant per person
Companions
- Corn
- Peas
- Broad Beans
- Runner Beans
- Bush Beans
The growing lifecycle
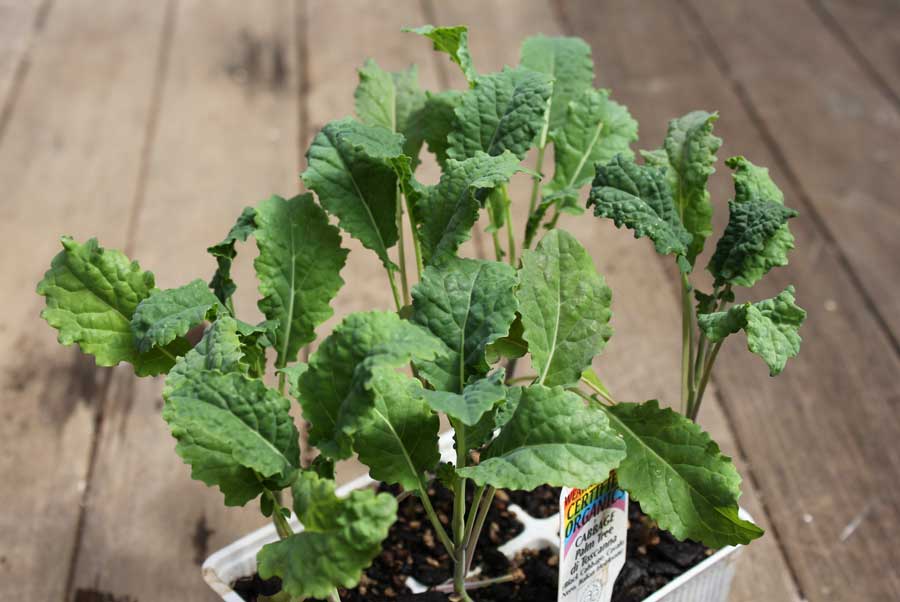
Kale seedlings, growing in a tray, looking ready for planting out in the garden
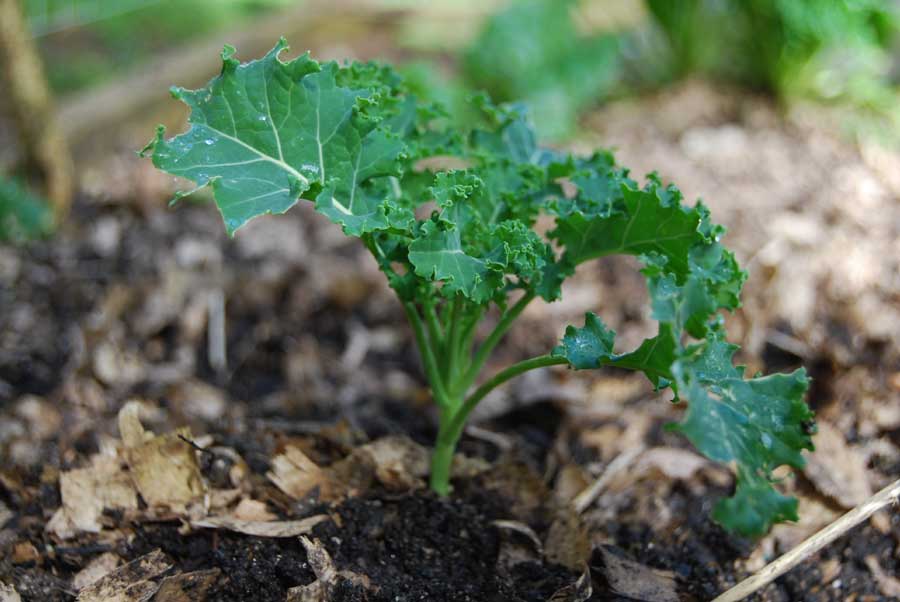
A newly planted Kale seedling planted out in the garden
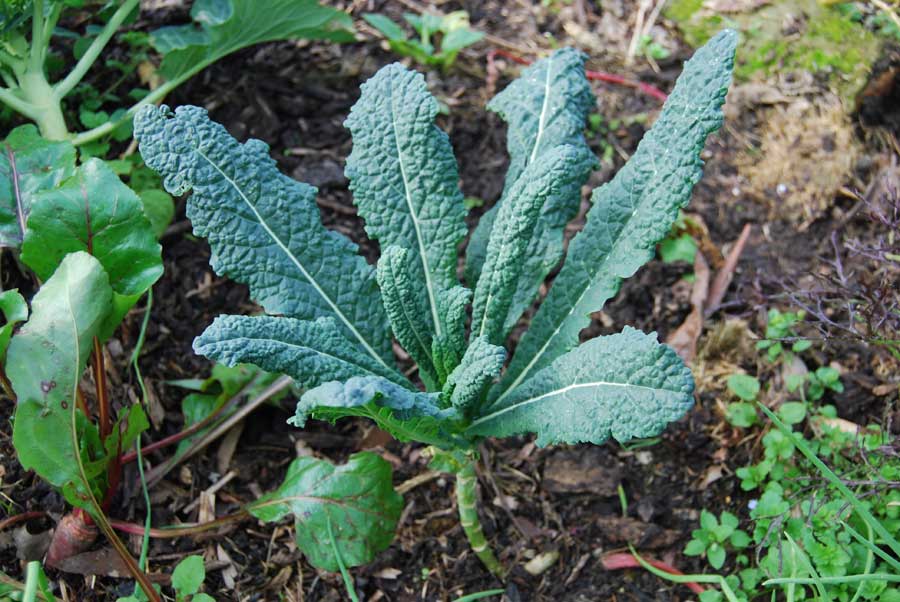
A 'Cavolo Nero' Kale seedling growing well

Kale seedlings mulched with straw and growing well in a bed
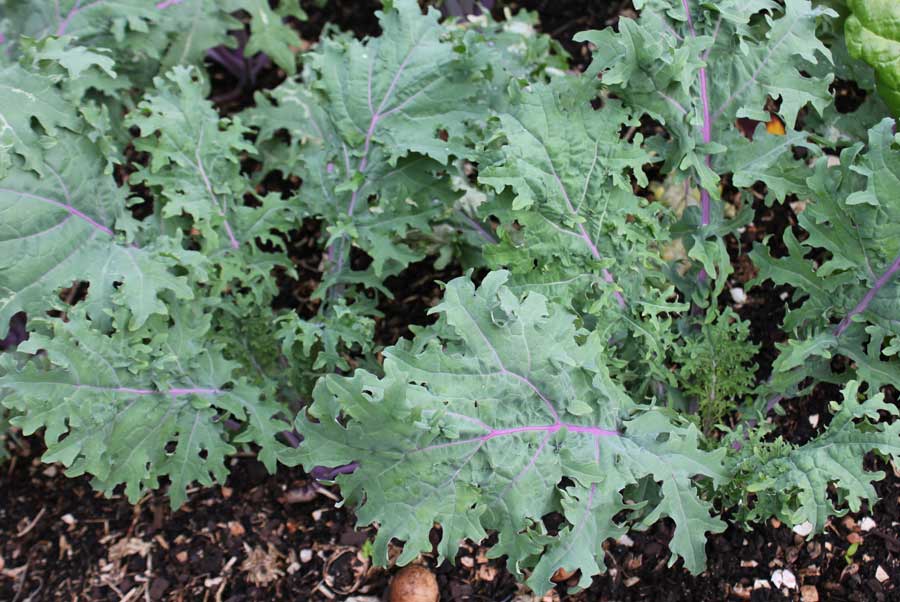
Kale 'Red Russian' plants growing well
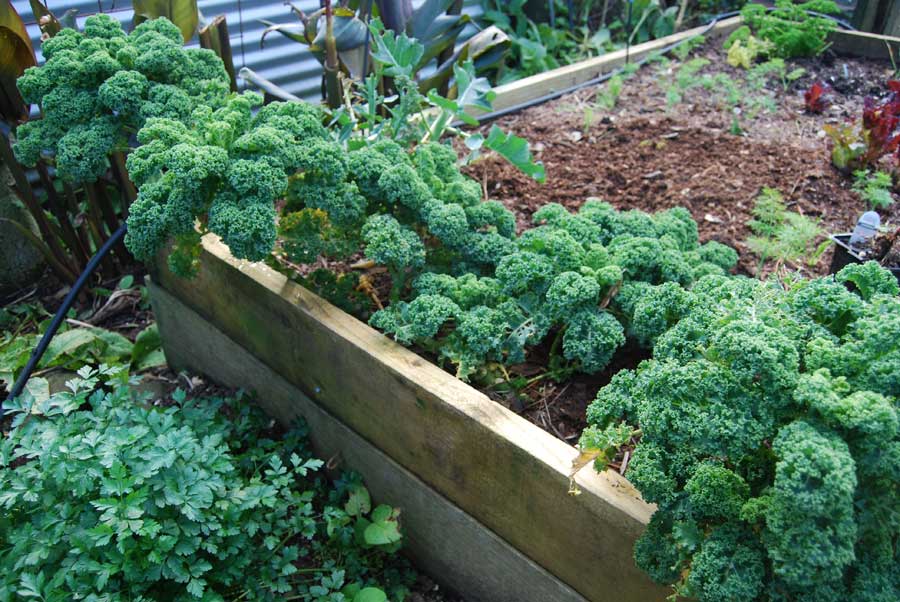
Kale plants growing in a row along the edge of a raised bed
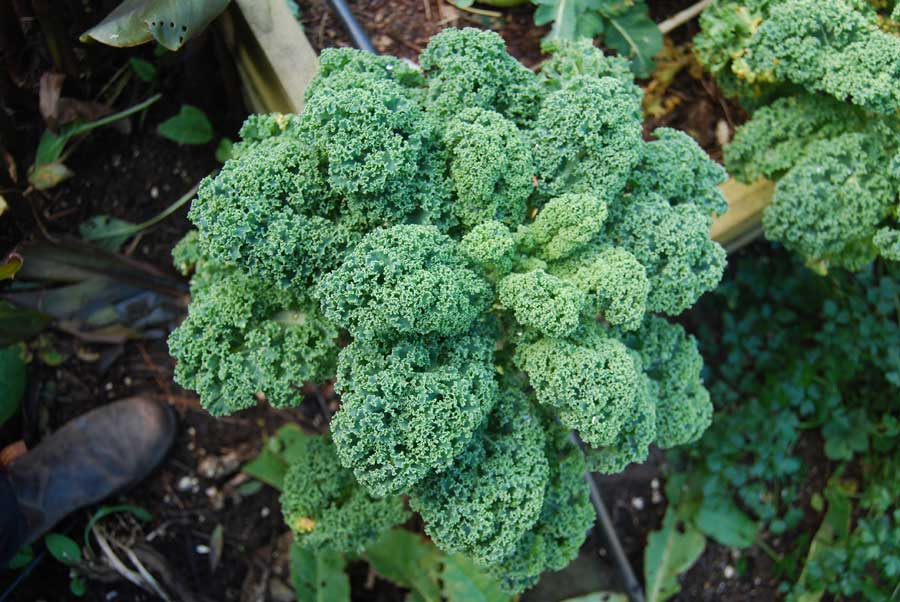
You can start harvesting from your Kale plants when they have a good crown of leaves like this
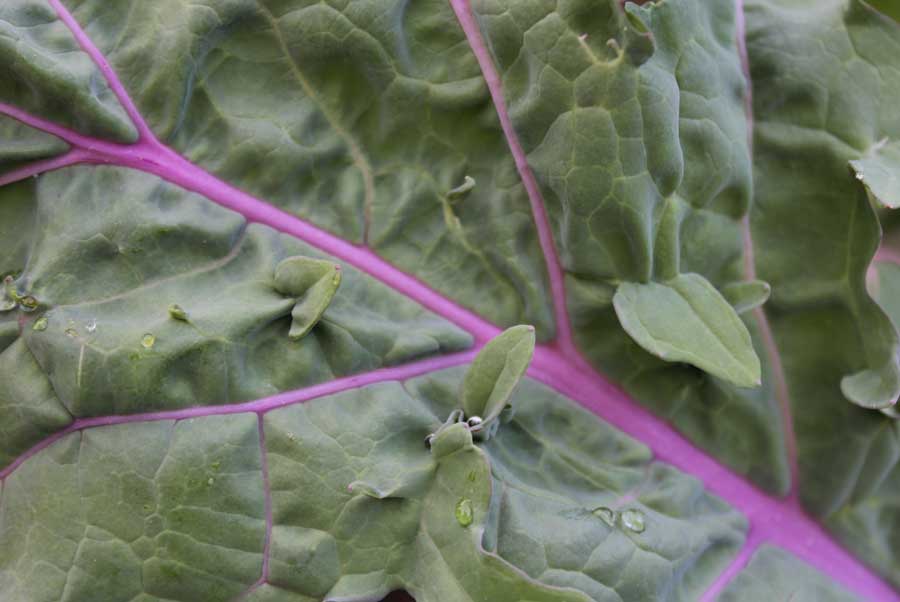
Beautiful colours on a Kale 'Red Russian' leaf
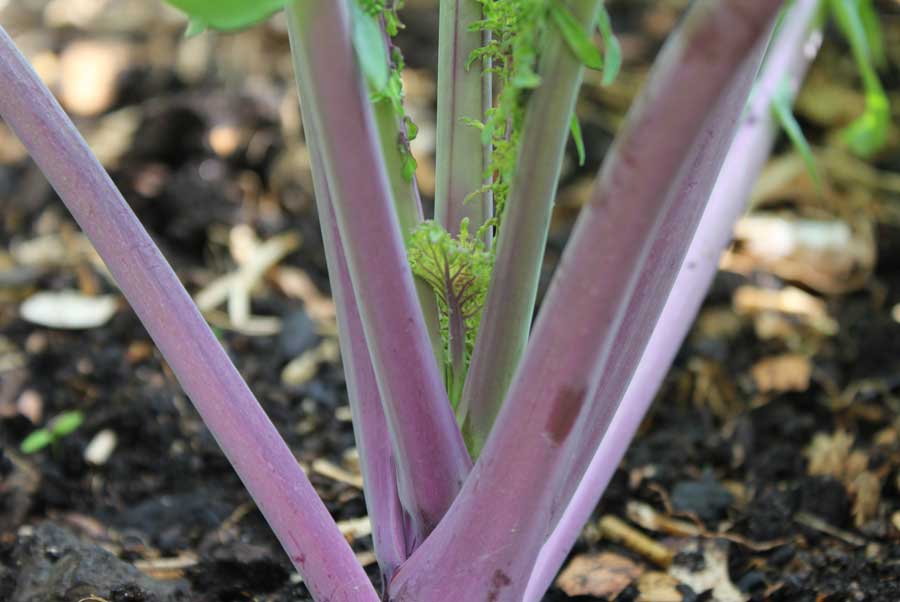
Kale 'Red Russian' stems with new shoots growing from the centre of the plant
Kale 'Kapitan F1' foliage
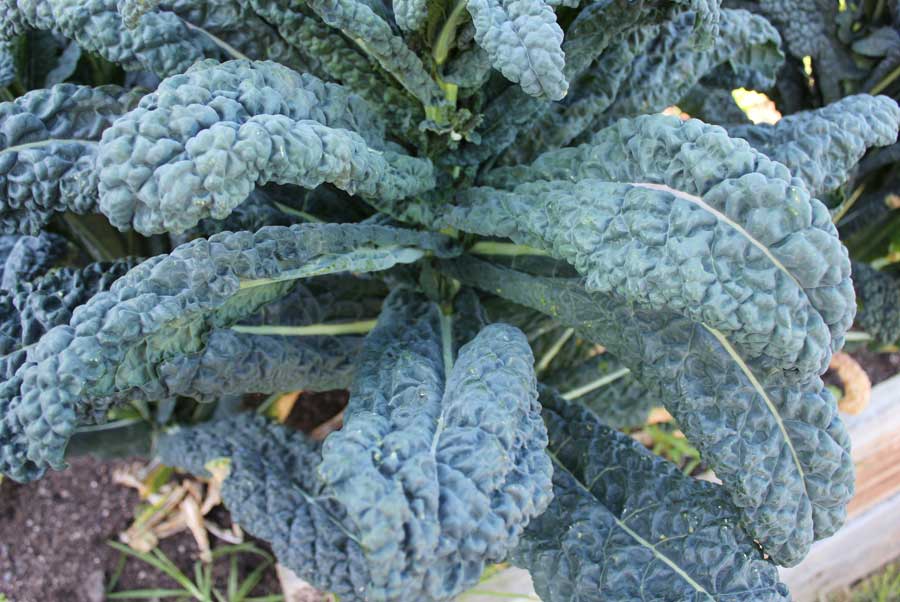
Kale 'Cavolo Nero' leaves developing on an elongated stem

Kale 'Cavolo Nero' plants showing the long stems that can grow to 4 feet in height over its lengthy harvest period

Flowers starting to open on a Kale 'Cavolo Nero' plant towards the end of harvest. These can be a boost for bees in early to late spring
Top 4 varieties
1. Cavolo Nero
An incredibly productive traditional variety. The stem grows upwards and produces very dark green elongated leaves that look like palm fronds. Plants can reach up to 6 feet in height and are productive for up to 6 months and sometimes longer.
2. Red Russian
An traditional variety with ragged-looking blue green leaves. When it gets cold, the stems and leaf veins turn a striking pinkish-red hue. Very sweet and succulent.
3. Kapitan F1
A very frost hardy hybrid variety with lush, curled green leaves that are particularly tender and juicy after a frost.
Getting started
When
Plant or sow Kale from March to June.
Where
Kale is not too fussy and can grow in full sun as well as partial shade. Plants grow to around knee height depending on soil and variety. However, ‘Cavolo Nero’ can grow close to head height.
Soil
Like cabbages, Kale is a touch on the greedy side and grows best in rich, well-composted soil that does not hold onto moisture for more than say half a day. Ideally, plant it where peas or beans have previously grown so that it can take advantage of all the nitrogen that has been ‘fixed’ into the soil. Soil should be fairly firm so pat down with a rake after digging. This helps them establish strong roots to support a head of hefty foliage.
Sow & plant
Sow
Seed can be sown directly in beds if soil has been well-prepared, sow seeds a finger tip deep and thin them down to about a forearm apart as they sprout and form leaves.
You might want to sow seeds a finger deep in trays or punnets filled with seed compost and then plant out when seedlings are about a finger length in height (this helps plants get off to a good start in early spring and often avoids dramatic losses through slug attack). However, there is another good reason for sowing and starting plants in pots. Kale grows quite slowly and by sowing in seed trays and growing on in punnets you can keep space in the garden free for longer for crops with an early summer harvest – such as rocket, salads, herbs – that you are growing in the place where you have decided to grow Kale.
Plant
Seedlings should be planted out when they have six or so leaves and look well-rooted and stable in their punnets. To test this, they should stand rather then flop over when you brush the back of your hand against them. Allow about a forearm by a forearm’s space on the surface of your bed for each seedling (check seed packets or seedling labels as spacing does differ between varieties). Use two fingers or a trowel to make a small hole that is deep enough for the soil to envelope the seedling’s stem to the point where the bottom set of leaves are attached to it. Gently firm the soil around each of your seedlings to ensure good contact with roots.
Maintain
Use a juice bottle cloche if planting in early spring (to protect from wild windy weather) and mulch around your seedlings. I use a hoe to gently keep those early spring weeds down – be careful not to go too deep or too close to your kale plants or you might damage roots. In dry weather it is important to see that your plants get at least a quarter of a watering can every two days. Once foliage starts to crowd the stems and thicken up you can get out your liquid feeds – something with a good dose of nitrogen in it like liquid seaweed or worm juice is good. Give your plants a watering can of diluted feed every two weeks to boost growth.
Ensure you firm soil and draw earth up around your seedlings as the stems start to swell – this helps to keep roots strong and firm. Keep mulching to maintain good soil moisture throughout the growing period.
If you see evidence of attack then go on a slug hunt and utilize slug control methods. Cabbage white butterflies are the number 1 pest. You can protect your brassicas (cabbages, cauliflowers, broccoli, kale, kohlrabi, cavolo nero) with fine mesh to stop the butterflies laying their eggs on the lush leaves (it’s the caterpillars that do all the damage) or you can arm your kids with badminton rackets and unleash them for a spot of mobile target practice. Remove any visible caterpillars by hand and feed to garden birds or chickens. Caterpillars can also be deterred by treating leaves with Chilli spray or by giving them a dusting with household flour.
Kale is also susceptible to attacks from aphids. Treat any visible infestations with Neem oil, Garlic oil spray or Tomato leaf spray.
Harvest or pick
You can start pulling your first leaves from kale once they have a good dense head on them – usually within 8 weeks of planting. If you pick regularly the harvest on a single plant can continue for up to a year.
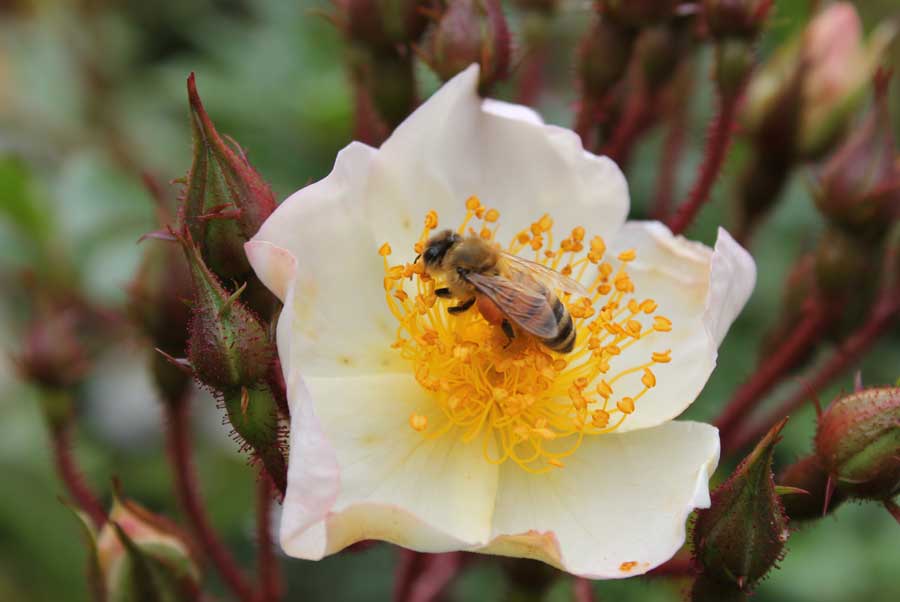
We let the odd ‘Cavolo nero’ plant flower and go to seed and enjoy discovering self-sown plants as they pop up here and there in the garden. The flowers also attract honey bees and other pollinating insects. Ladybirds and parasitic wasps are also drawn to flowering brassicas and soon get to work ridding the leaves of pests such as aphids.