




Onions
Grow
Allium cepa
The onion has to be one of the most commonly used vegetables in our kitchens. Year round we sizzle and sauté our way through recipe after recipe that starts out with a finely chopped onion. There’s plenty of choice too with standard onions, shallots and spring onions to choose from. These essential ingredients are all the sweeter for being grown and fattened in our very own gardens.
In a nutshell
- Full sun
- Fertile sandy soil
- Keep weed free
- Constant soil moisture
- Eat young or mature
Quantity
15 to 20 per person
Companions
- Parsley
- Carrot
- Lettuce
- Beetroot
- Tomato
- Cabbage
- Broccoli
- Cauliflower

The growing lifecycle
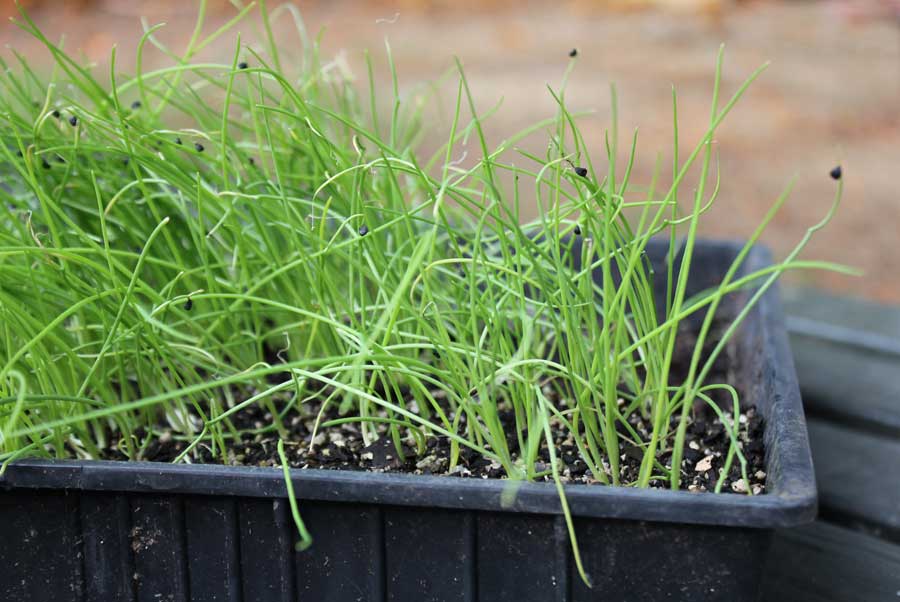
Onion seedlings growing in a tray
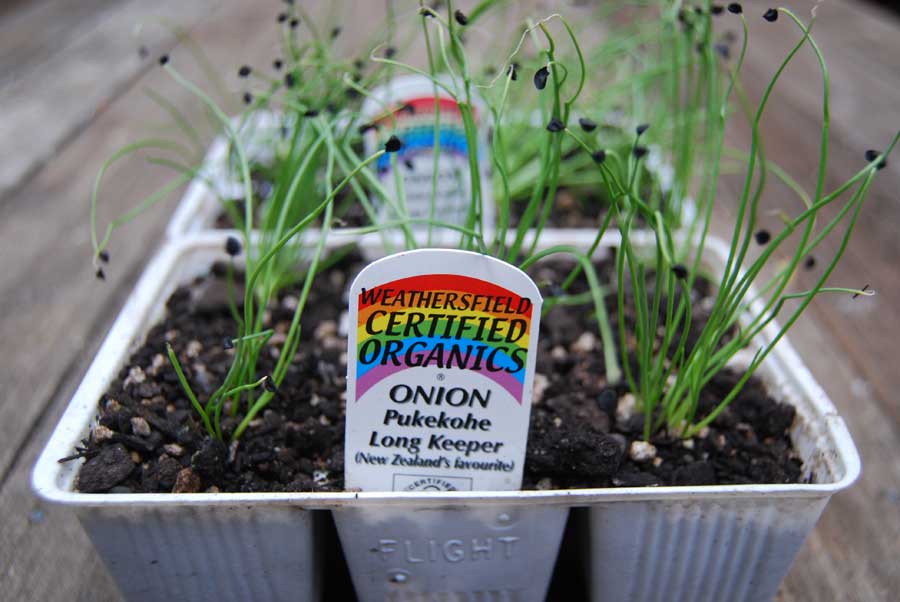
Onion seedlings growing in a tray of small pots

Trimming the roots and leaves of Onion seedlings before planting

Using a pencil to make small planting holes for seedlings

Onion seedlings showing green leaves above ground
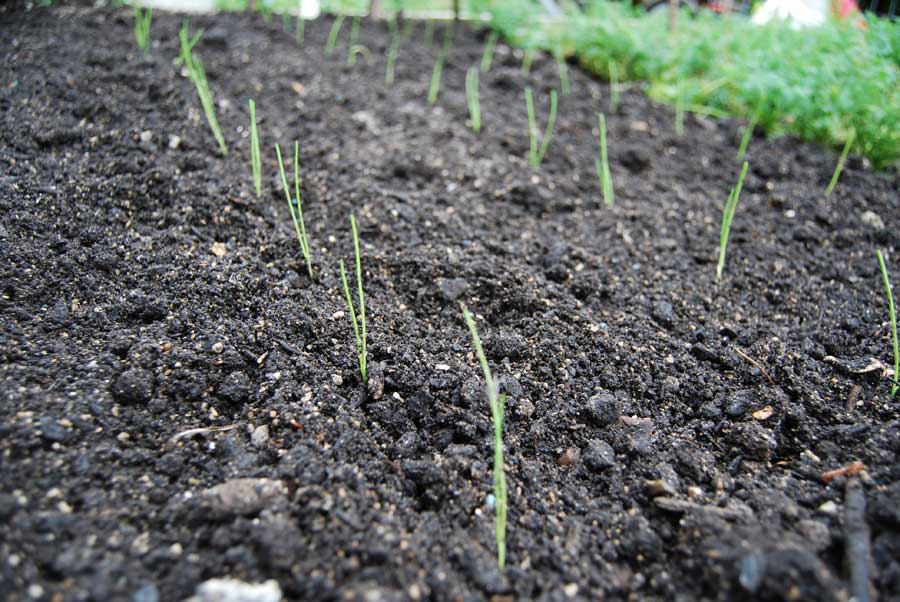
Onion seedlings newly planted in rows

Spring Onions growing in an old wine bottle box

Spring Onions ready for the kitchen

Onion with dry papery skin and wilted stem
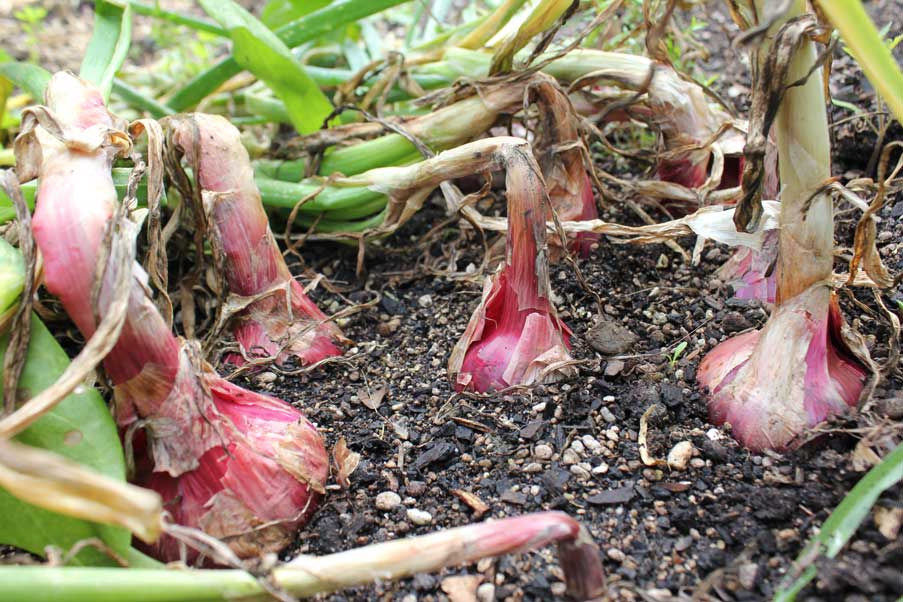
Red Onions ready for harvest
White Onions ready for harvest
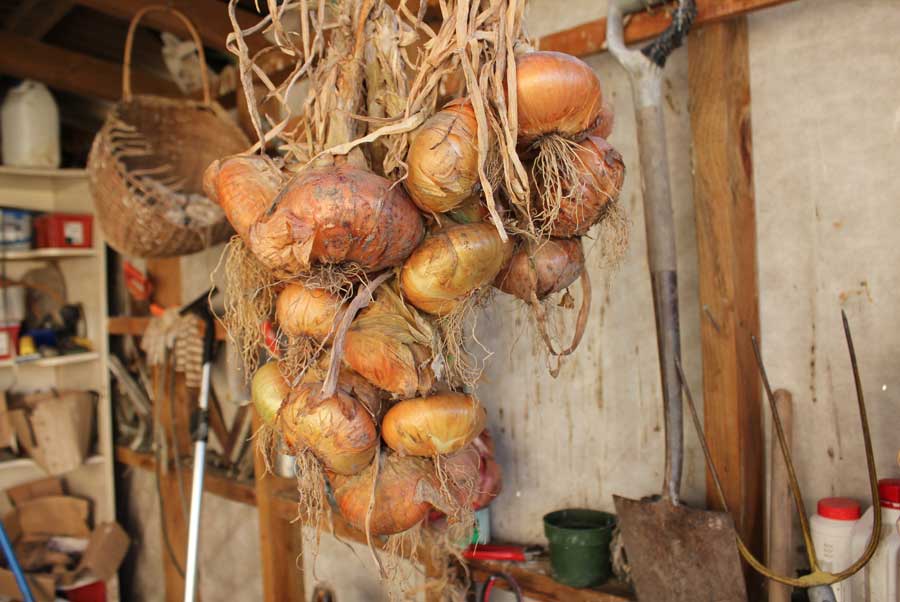
Bunches of Onions harvested and hanging up to dry

A nice bag of Onions ready for storage
Top 6 varieties
1. Red Brunswick (bulb)
An heirloom medium to large dark red onion with flattened bulbs. Good storer with a milder flavour than many white onions, often used raw in salads and pasta dishes. A late maturing variety, best grown through summer and harvested in autumn.
2. Shallot
A fellow allium that is sweeter than its traditional onion cousins. Choose from yellows, reds and French Jersey types. Shallots generally store for longer than other varieties - apart from the French varieties which should not be kept for long.
3. Ambition F1 (multiplier) shallot
A hybrid shallot variety producing round, tear-drop shaped bulbs with mild flavour that is popular in French cooking. Good for pickling and stores well.
4. White Lisbon (spring onion)
Very popular spring onion variety with succulent white stems that have a characteristic bite. Grows well through winter for a spring harvest.
5. Sturon
Your traditional white onion. Sets planted in spring will yield a harvest of plump, medium-sized onions in late summer. Very good for storing right through winter till the following spring.
6. Red Arrow
Red Arrow is an early-maturing variety with pinkish flesh. It can be planted earlier than other onions which then delivers and early harvest. It is resistant to bolting
Getting started
When
Generally for standard onions and shallots plant seedlings or sets outdoors March to April. Onion seedlings can be started off indoors in seed trays in mid-to-late winter.
Spring onions are fast growing and are usually grown from seed which can be sown successionally from March through to late September.
Where
Onions, shallots and spring onions like plenty of sun as this helps to swell their bulbs to tear-jerking perfection. Give them an airy, open space – especially if you get warm, moist weather in late summer when they are ripening and can be susceptible to mildew.
Soil
Fertile, free draining soil is essential for the onion family, the sort of soil that your hand might feel comfortable pushing its way through – loose, deep and without any lumps or a soggy bottom. Raised beds are a good option if your soil is on the sticky side. All onions are hungry feeders so ideally you have pre-composted the planting area so that by the time you sow or plant it is full of well-rotted manure, kitchen compost, leaf mould etc. and well dug over. Should be like a crumble mix before it goes into the oven. You can still do this at the time of planting as long as the compost you mix in is well-rotted and well mixed in – like a crumble.
As a general rule, if you get onto your bed preparation a few weeks before planting, add a dusting of lime (about half a cupful per square that measures a stride by a stride) and dig into the soil. Add untreated wood ash from the wood burner (if you have one) and this will provide a welcome boost of potash – essential for strong, healthy roots which will in turn produce fat juicy bulbs.
Sow & plant
Sow
Sow onion and shallot seed indoors from midwinter and plant outdoors once spring is in full swing and seedlings are growing strongly. Seedlings will need to be hardened off over a week or so before transplanting. This involves putting trays outdoors in the sun during the day before taking inside at night when temperatures can drop significantly.
Plant
With onions it is easiest to buy either seedlings or mini-bulbs called ‘sets’ from a garden centre. Shallots usually come as sets.
Spring onions are sown straight into the garden. Sow three or four seeds in groups about a finger tip deep and keep these groups about a finger’s length apart. Do this in rows or patches. It’s fine to let spring onions grow in clumps like this.
Seedlings. Ease seedlings from their punnet or tray and gently shake or rinse away the soil. Using a pair of household scissors, shorten the roots back to about the length of your finger tip and then trim the leaves back by about a third (this technique is also used on leek seedlings and should prevent seedlings suffering from moisture loss until they develop new roots in the garden soil). Drag a shallow line across the bed to mark a row. Seedlings should be spaced about a fingers’ length apart in the row. Using a pencil to make slender holes, plant the trimmed seedlings so that only the white lower base of the stem with the roots below is covered by soil. Rows should be spaced about a generous hand’s length apart.
Sets. If planting onions as bulbs – or sets – space them around a hand’s length apart with the fat, scarred base pointing down and the pointy end sticking upwards. The top of the bulb should be just below the surface with any dead foliage sticking out above this. (You may want to cover with mesh for a while to stop inquisitive birds from pulling them out.) If birds do pull any up simply re-plant them.
Maintain
Moisture levels need to be fairly constant as your seedlings grow, so have your watering can and rose attachment or hose with shower fitting ready for any dry spells. Every couple of weeks you can give seedlings a feed with liquid comfrey or liquid cow manure until the bulbs start to swell. Onions grow well on open un-mulched soil so it is important to keep weeds down and periodically to loosen the soil’s surface with a niwashi or a hoe to facilitate good aeration of the upper levels. If you are in a really hot, dry area then you might want to use a thin straw mulch once your onions are around a foot tall.
Harvest or pick
As with garlic you can harvest onions (but not shallots) at any time and enjoy their fresh, sweet flavour when still young. Generally though, they are harvested when mature.
Again, like garlic, onions and shallots will often tell you they are ready by wilting their tops and then toppling slightly as roots dry and become wiry. You’d be expecting this to happen around July. Once the tops have wilted and the roots shriveled in this way all you have to do is pull the onions and clumps of shallots and lay them on their sides for a few days – turning them now and again in the sun to dry their outer skins (If its wet then lay them carefully under cover on slatted shelves or a piece of mesh or chicken wire that has air flowing beneath it). If there is no sign of wilting in your onion crop by August then you can speed the process by grasping the leaves and bending them towards the ground – this should start the wilting process.
Place on trays or in an onion bag and take indoors – if neccessary – to finally dry out before storing. Shallots should be separated into individual bulbs before drying to allow them to fully dry out before storing.
Any onions that still have thick stems above their bulbs once harvested are not suited for storing and should be used first in the kitchen.