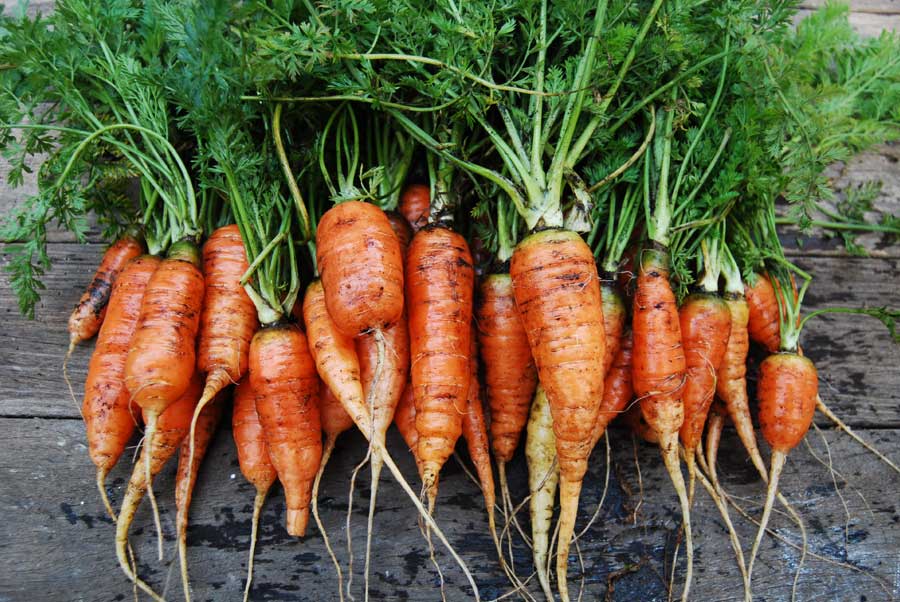





Kohlrabi
Grow
Brassica oleracea Gongylodes group
A conversation piece, thanks to its weird appearance like a strange giant radish above ground, kohlrabi is a versatile member of the cabbage, kale and broccoli fraternity. It can be eaten raw, grated into salads and coleslaws, roasted or added to soups and stews. The leaves can be steamed, boiled or stir-fried. Kohlrabi comes in purple, green and white varieties – ‘Early Purple Vienna’ – ‘Emerald’ – ‘White Vienna’. ‘Gigante’ grows to about the size of a small melon and can weigh several kilos – it is often used as the main ingredient in sauerkraut.
In a nutshell
- Full sun
- Well-composted soil
- Sow from seed
- Cool weather crop
- Rich in vitamins
Quantity
- 6 plants per person
Companions
- Beetroot
- Onion
- Dwarf bean
- Cucumber
- Lettuce
- Potato
- Tomato

The growing lifecycle
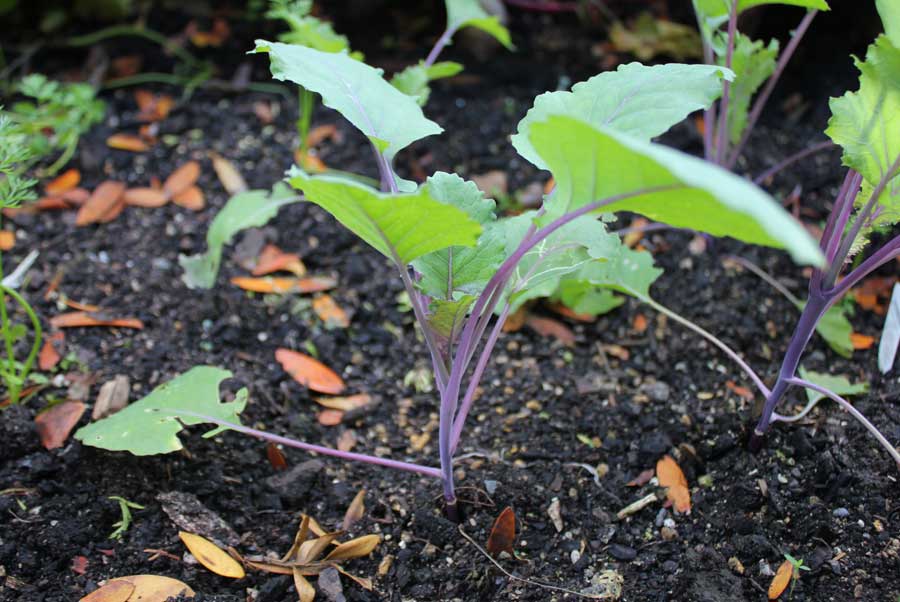
A Kohlrabi seedling growing in a bed

A Kohlrabi seedling with the stem showing early signs of swelling
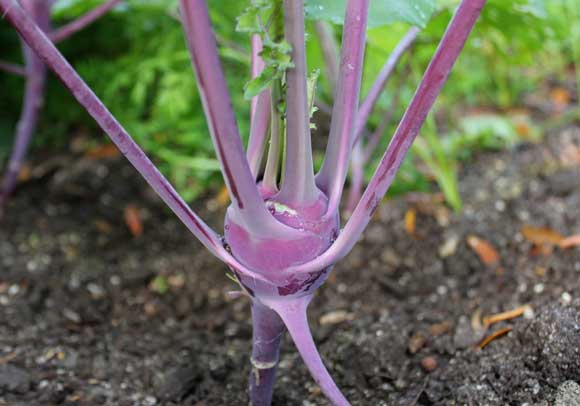
A Kohlrabi plant showing the swollen base
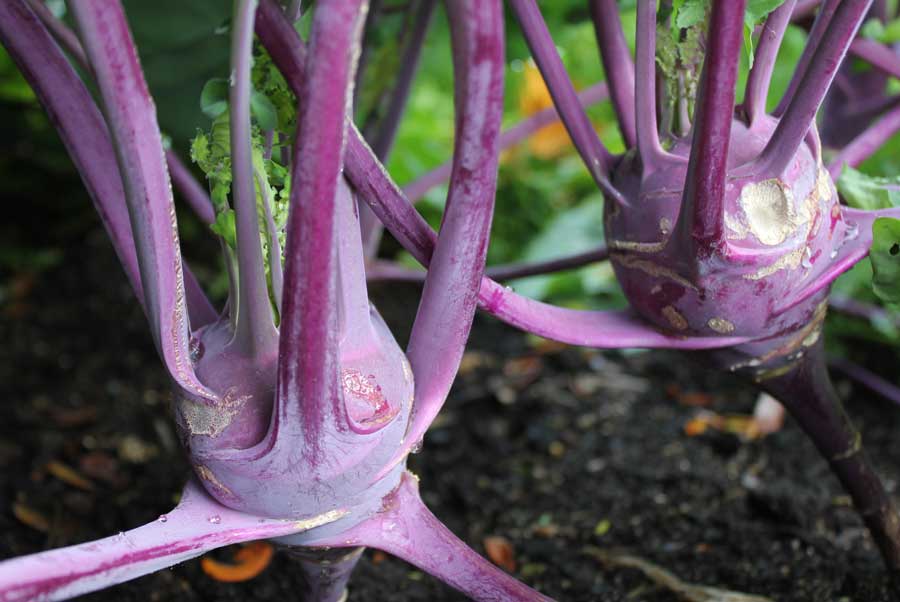
Kohlrabi almost ready for harvest

Kohlrabi ready for harvest
A Kohlrabi plant that has probably gone too far!
Top 2 varieties
1. Kolibri
An eye-catching variety that produces striking purplish stems with pale, white inner flesh. Good for harvesting in summer and autumn. Flesh is best eaten when plants are no more than tennis ball sized.
2. Olivia
A reliable variety with green skin and white flesh that is resistant to fungal diseases - as well as mildew - and is slow to bolt. Good for repeat sowing through the growing season.
Getting started
When
Sow under cloches or straw in spring, and then unprotected once summer gets going.
Where
Kohlrabi should be grown in full sun where possible.
Soil
Kohlrabi likes a well-composted soil that does not hold onto surface moisture for more than say half a day. Ideally you’d give soil a dusting of lime a week or so before sowing/planting to help reduce the chance of clubroot. Soil should be fine, well dug through to remove lumps, and fairly firm – so pat down with a rake after digging. This helps kohlrabi to establish strong roots that can support that strange-looking, hefty swollen stem and foliage. Kohlrabi does not like to have its roots disturbed so make sure that your planting site is free from all weeds – especially persistent perennial weeds such as bindweed, docks, dandelion and creeping buttercup.
Sow & plant
Sow
Seed can be sown directly in beds – in rows or patches – if soil has been well-prepared, sow seeds a finger tip deep and thin them down to about a hand’s length apart as they develop.
If sowing in wetter months you might want to sow seeds a finger deep in trays or punnets filled with seed compost and then plant out when seedlings are about a finger length in height (this helps plants get off to a good start and often avoids dramatic losses through slug attack).
Plant
Seedlings should be planted out when they have four or more leaves and look well-rooted and stable in their pots. To test this, they should stand rather then flop over when you brush the back of your hand against them. Allow about a hand’s length of space on the surface of your bed for each of seedling. Use two fingers or a trowel to make a small hole that is deep enough for the soil to envelope the stem to the point where the bottom set of leaves are attached to it. Gently firm the soil around each of your seedlings to ensure good contact with roots.
Use a juice bottle cloche if planting in early spring (to avoid the full force of wild winds) and mulch around your seedlings. I use a hoe to keep any weeds down – be careful not to go too deep or too close to your plants or you might damage the shallow roots. In dry weather it is important to see that your plants get at least a quarter of a watering can every two days. Once foliage starts to crowd the stems and thicken up you can get out your liquid feeds – something with a good dose of nitrogen in it like liquid seaweed or worm juice is good. Share a watering can of diluted feed between 4 plants every two weeks to boost growth.
There you go….. time for a cuppa and a general gloat.
Maintain
Ensure you firm soil and draw earth up around your seedlings as the stems start to swell – this helps to keep roots strong and firm. Keep mulching to maintain good soil moisture throughout the growing period.
Keep an eye out for slug damage overnight. If you see evidence of attack then go on a slug hunt and utilize slug control methods.
Cabbage white butterflies are the number 1 pest. You can protect your brassicas (cabbages, cauliflowers, broccoli, kale, kohlrabi, cavolo nero) with fine mesh to stop the butterflies laying their eggs on the lush leaves (it’s the caterpillars that do all the damage) or you can arm your kids with badminton rackets and unleash them for a on spot of mobile target practice. Remove any visible caterpillars by hand and feed to garden birds or chickens. Caterpillars can also be deterred by treating leaves with Chilli spray or by giving them a dusting with household flour.
Kohlrabi is also susceptible to attacks from aphids. Treat any visible infestations with Neem oil, Garlic oil spray or Tomato leaf spray.
Harvest or pick
You can intermittently harvest foliage along the way before harvesting the swollen stem itself. It takes about 8 to 12 weeks for kohlrabi stems to mature to a harvest-ready size. You can start lifting them when they are between a golf ball and a tennis ball in size. Apart from the large ‘Superschmelz’ variety they shouldn’t be allowed to get much bigger as they quickly become tough and woody.